¶ Intermediate: NxM 3D map art
This guide assumes previous knowledge from The Basics: 1x1 2D map art guide and The Basics: 1x1 3D map art guide
In this guide, we will use Shiny Smily Story banner as an example, with some preprocessing done to a 4x4 map art:

In Mapartcraft's Settings, initially do Map size: 4 x 4
¶ The problem: the height limit
Try pasting the schematic with Litematica using Staircasing: On (Classic). You will see that a lot of pixels are missing:
![]()
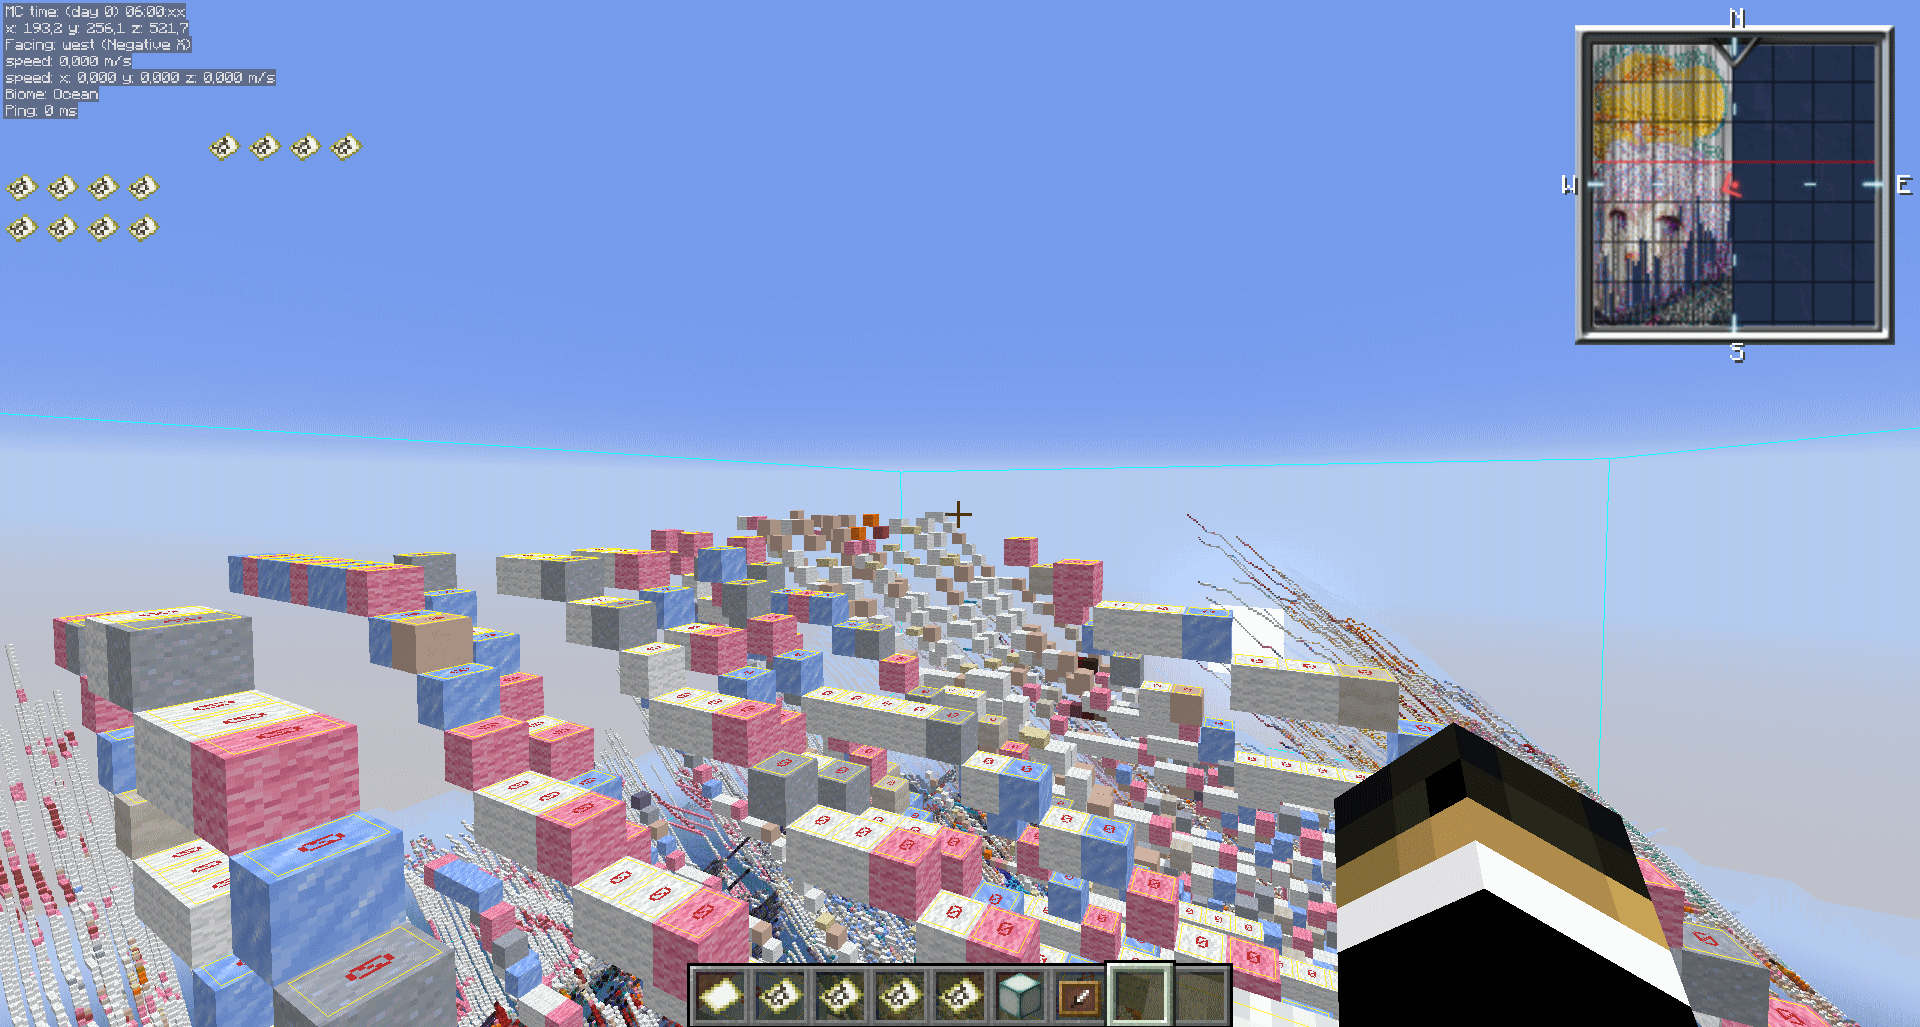
You may then think that the method Staircasing: On (Valley) would fix this, but if you try on this image and build it on Y = 127, there will still be lost pixels, on Okayu:
![]()
If you look at the blocks, you will see that nothing can be built on Y = 320 and above (as of Minecraft 1.18.1). This is called the height limit:
Staircasing: On (valley)resets the Y level of a column back to the lowest whenever a darkest shade is used. However, as this example showcases, that has no effect when there aren't mixtures of darkest and lightest shades before the height limit is reached.
This problem wouldn't happen for Nx1 map arts (unless you use a high starting Y level).
¶ Possible solutions
There are three possible solutions for this, but the top two won't work for all cases:
-
Start building lower.
For this, you would have to drain the ocean or destroy blocks and have to deal with falling damage. -
Edit the image to have a mixture of darkest and lightest shades.
This would need to mess with the original image, and, if you have an entire column of all darkest or all lightest shades, this could be very difficult to do. -
Split the image into several map arts
This is the proposed solution, which should work for all cases, and you could even use Classic staircasing for this.
¶ Splitting the image
This guide will use Paint.NET to split the images. MapartCraft does have a feature to manually crop, but it works on percentages, and you may lose pixels due to rounding errors.
In Paint.NET, after loading the image, use Image > Canvas Size and split the image vertically with 128 pixels of height each.
You need to split only vertically, as the staircasing method works on columns, not rows.
You can see the operation on the video below:
¶ Building the schematic
Now, use Mapartcraft and prepare your four schematics as if they were separate map arts.
In Mapartcraft's Settings, do Map size: 4 x 1 for each of the 4 images.
When building, think of the map arts as separate maps.
Don't build schematics right below each other, as the top strip line of a schematic may interfere with another schematic. Give 127 blocks of space on the Z coordinate.
Here are possible schematic placements:
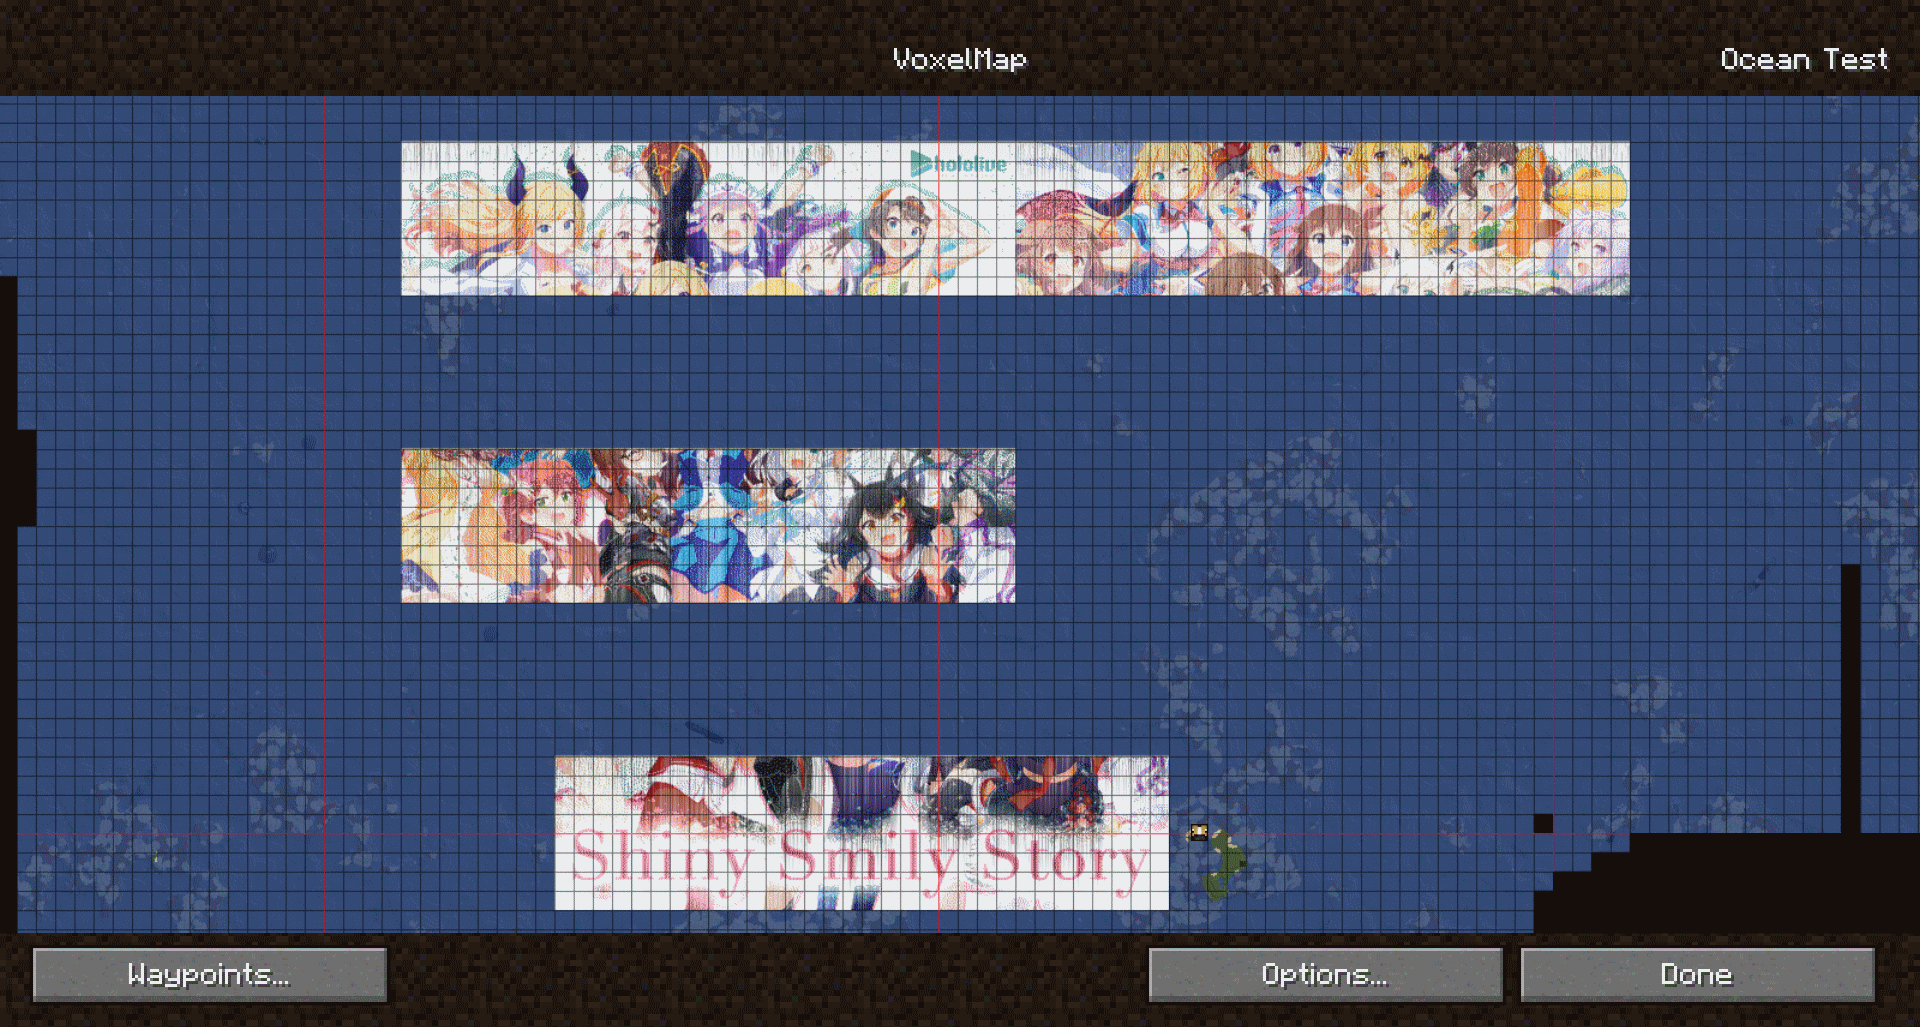
And showcasing the final product: